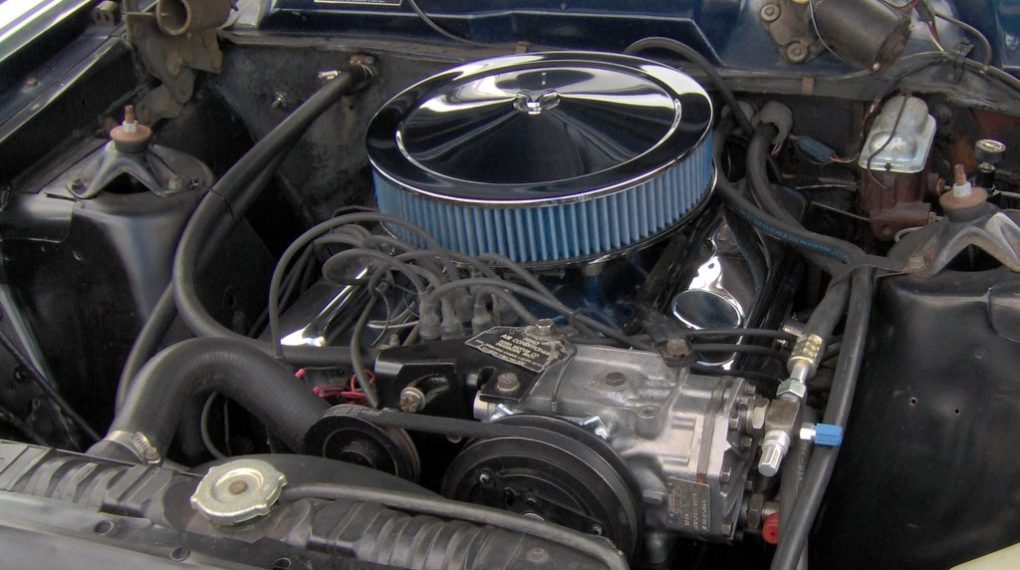
How to rebuild an AC compressor? But why rebuild when you can replace it? Well, rebuilding is not only cost-effective but it’s also a rewarding DIY project. So, are you ready to get your hands dirty? Let’s get started!

Table of Contents
Tools Needed for AC Compressor Rebuilding
Just like a painter needs his brush, you’ll need the right tools to rebuild your AC compressor. Depending on the state of your compressor, you may need a clutch puller, snap ring pliers, a socket set, and a torque wrench. Don’t worry, none of these tools will break the bank.
Safety Precautions Before Starting the Overhaul
We’re all for DIY, but safety first, right? Before you start ripping out your AC compressor, there are a couple of safety steps we need to take.
Before you start, make sure the AC system is safely disconnected. You wouldn’t want refrigerant leaking out, trust us.
The components of an AC compressor are like a family. They need to be handled with care. Always ensure to keep them clean and damage-free.
Step-By-Step Guide on How to Rebuild an AC Compressor
Roll up your sleeves. It’s time to get into the thick of it. We’re about to go through the process of how to rebuild an AC compressor.
Removing the AC Compressor
To remove the AC compressor, you’ll first need to locate it. It’s typically found at the front of the engine bay, with hoses attached.
Unbolt the compressor from its mounting bracket, ensuring that you’ve safely discharged and disconnected the AC system to avoid leaks. Be careful while handling the hoses, as they contain refrigerant.
After you’ve unbolted the compressor, you can disconnect the hoses and the electrical connection.
Disassembling the AC Compressor
Next, you’ll be disassembling the AC compressor. It’s like deconstructing a puzzle, and each piece holds the secret to cooler air.
Removing the Clutch and Pulley
This might require a specific puller tool, often known as a clutch puller. You’ll first need to remove the snap ring that holds the clutch onto the compressor shaft, using snap ring pliers.
Once you’ve taken the clutch off, you can remove the pulley. Just keep track of all the parts you remove and how they fit together – taking photos can help!
Removing the Pistons and Valves
With the clutch and pulley out of the way, it’s time to remove the pistons and valves. Open the main body of the compressor by removing the bolts holding it together. Inside, you’ll see the pistons and valves.
Gently lift them out and be very careful – these parts are delicate. Don’t force anything, and if a part doesn’t want to move, it might be better to leave it and work around it.
Inspecting and Cleaning the AC Compressor Parts
After removing all the necessary components, the next step is inspection and cleaning. Carefully examine each part for any signs of wear, damage, or excessive dirt. Any broken or excessively worn parts should be replaced.
Cleaning can be done using a specific AC compressor cleaner or solvent. Just make sure to avoid damaging any delicate parts, and don’t forget to thoroughly dry everything before reassembling.
Replacing the Necessary Components
If you found any worn or damaged parts during your inspection, now is the time to replace them. This might include seals, gaskets, or even mechanical parts like pistons or valves.
Make sure you’ve got the correct replacement parts by checking the part numbers in your vehicle’s service manual. Once you have everything you need, you can start to put everything back together.
Reassembling the AC Compressor
Now comes the fun part, reassembling the AC compressor. You’ve reached the top of the mountain, and now it’s time to descend.
Installing the Pistons and Valves
The pistons and valves are up first. They should be reinstalled in the same way they came out, so refer to your photos if needed. Make sure each part is seated correctly and moves freely.
Once they’re in, you can close up the main body of the compressor and re-attach it to its mounting bracket.
Installing the Clutch and Pulley
With the main body back together, you can reinstall the pulley and clutch. The pulley should slide onto the shaft easily. After it’s on, you can reinstall the clutch.
Secure everything with the snap ring you removed earlier, and make sure all the parts move freely and are securely attached.
Reinstalling the AC Compressor
Finally, it’s time to reinstall the AC compressor in the engine bay. Hook up the hoses and electrical connection, then bolt the compressor back onto its mounting bracket.
Once everything’s hooked up, you can recharge the AC system and test it out. If everything’s been done correctly, your AC should be running as good as new!
Check out these other related articles…
How to Bypass AC Compressor in 3 Easy Steps
AC Compressor Control Valve Symptoms: Ultimate 411 Guide
VW AC Compressor Solenoid Valve Symptoms: Easy 411 Guide
AC Compressor Breaker Size: Your Comprehensive 411 Guide
AC Compressor Noise After Recharge: 4 Causes & Fixes
Post-Installation Checks and Testing
Just like a chef tasting his dish, you need to check your work. Let’s see how you can make sure your hard work has paid off.
Checking the AC System for Leaks
First, check for any leaks. It’s like checking for holes in a water balloon. You don’t want all your hard work to go to waste, do you?
Testing the AC Compressor Performance
And finally, test the performance. It’s the moment of truth. If everything works as it should, give yourself a pat on the back. You’ve just rebuilt your AC compressor!
