In this article, we’ll guide you on how to start AC compressor without capacitor in easy-to-follow steps.
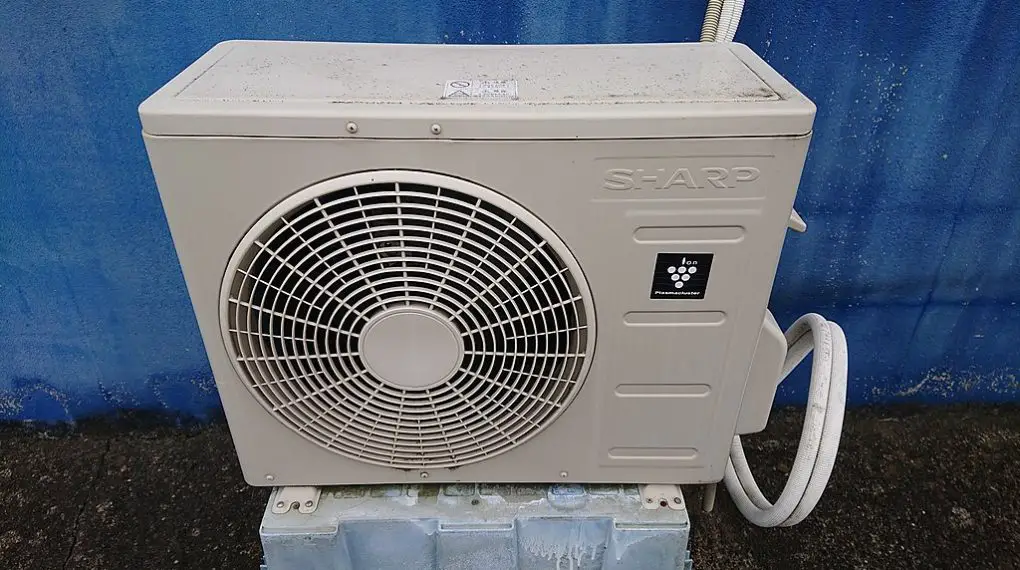
Table of Contents
Understanding the Role of a Capacitor in Your AC System
A capacitor in an AC system is akin to a battery; it stores electrical energy and releases it to start the compressor motor. This burst of energy is crucial for the initiation of the cooling cycle. Without it, the compressor motor struggles to start, leading to potential system failures.
Steps on How to Start AC Compressor Without Capacitor
The steps below will guide you on how to start AC compressor without capacitor.
Step 1: Safety Precautions
The first and most crucial step is ensuring your safety and that of the AC unit. Before starting any work, locate the main power switch or circuit breaker for your AC system and switch it off. This action cuts off the electricity supply to the unit, preventing electric shocks.
Wear protective gear, including safety gloves and goggles, to protect against potential hazards like sharp edges or electrical sparks. Also, ensure the area around the AC unit is dry to avoid slipping or electric shock risks.
Step 2: Accessing the AC Compressor
The AC compressor is typically located in the outdoor unit of the air conditioning system. To access it, you need to remove the protective panel that covers the unit. This usually involves unscrewing several screws. Use an appropriate screwdriver, and keep all screws in a safe place so they don’t get lost.
Once the screws are removed, gently lift off the panel, taking care not to damage any wires or components inside. Observe the arrangement inside, as you’ll need to reassemble it later.
Step 3: Identifying the Capacitor
In your AC system, the capacitor is usually a small, cylindrical part located near the compressor. It will have two or more terminals on top, and it’s often marked with an electrical rating in microfarads.
Note the connections and the wiring, as it’s essential for understanding how the capacitor integrates with your AC system. If you’re unsure about identifying the capacitor, refer to your AC unit’s manual or look up a diagram of your specific model online.
Step 4: Using a Multimeter
A multimeter is a tool used to measure electrical values such as voltage, current, and resistance. Before attempting to start the compressor, use a multimeter to ensure there is no residual voltage in the capacitor or the electrical lines connected to it.
Set the multimeter to the voltage setting and touch the probes to the capacitor’s terminals. A reading of zero volts indicates it’s safe to proceed. If you’re unfamiliar with using a multimeter, consult its manual or watch instructional videos for guidance.
If you don’t have a multimeter, you can get this AstroAI Digital Multimeter from Walmart.
Step 5: Manual Start Method
Manually starting the AC compressor involves giving the fan blade a push to jump-start the system. After ensuring the power is off, locate the fan blade in the outdoor unit.
When ready, turn the power back on, and immediately spin the fan blade in its normal direction using a stick or another long object. This action can help the compressor start without the initial boost from the capacitor. Be cautious and avoid direct contact with electrical components.
Step 6: Using a Start Assist Kit
A start assist kit is a device that helps in starting an AC compressor without a capacitor. These kits typically include a relay and a start capacitor.
First, turn off the power to the AC unit. Then, connect the start assist kit according to the manufacturer’s instructions, which usually involves connecting it to the compressor’s wiring. Ensure all connections are secure and insulated.
Once installed, turn the power back on to test if the compressor starts. As with any electrical work, if you are unsure about this step, seek professional assistance.