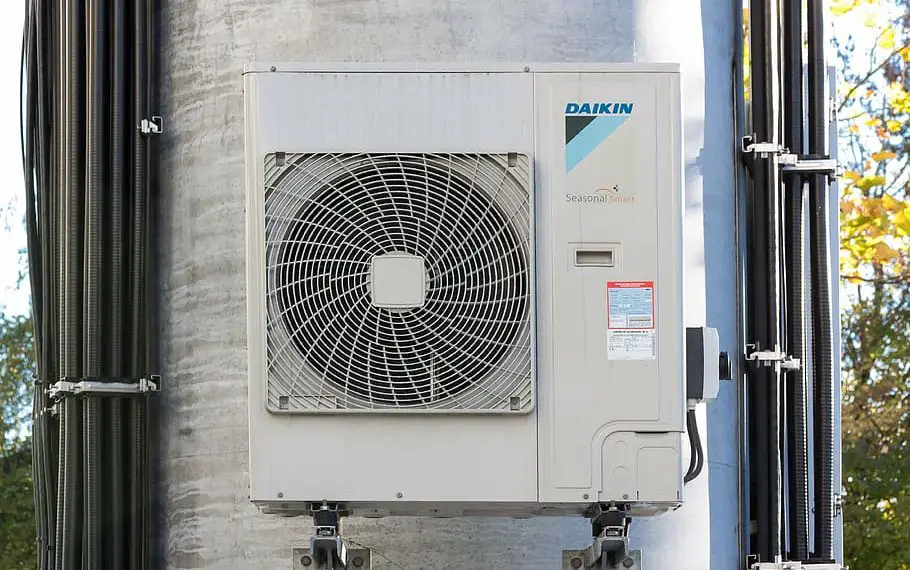
If you’re wondering how to check ac compressor relay in your air conditioning system, you’re in the right place. This guide will cover everything from identification to replacement, providing clear and straightforward instructions for each step.

Table of Contents
How to Check AC Compressor Relay via Visual Inspection
The first step in checking the AC compressor relay is to locate and inspect it for any signs of damage or malfunction. This involves several detailed steps:
Turn off the AC system: This is essential for your safety. Locate the main circuit breaker in your home, which may be in a basement or garage, and switch off the power to the air conditioner. If you’re unsure which switch controls the AC, consult your home’s electrical panel labeling or manual.
Locate the compressor relay: Open the electrical compartment of your outdoor AC unit, usually located behind a removable panel. Inside, you’ll find various components, including the compressor relay. It might be a small, rectangular, or square object, typically with several wires connected. Consult your AC’s user manual to locate it accurately if you’re unsure.
Inspect the relay for visible damages: Look closely at the relay for signs of wear, such as burns, cracks, or discoloration. If these are present, they may be indicators of a malfunctioning relay. A physical inspection can provide initial insights into the condition of the relay.
How to Check AC Compressor Relay via Testing
If you suspect a problem with the compressor relay, testing it will confirm whether it’s functioning correctly. Follow these detailed steps to test the AC compressor:
Remove the relay from its socket: Carefully pull the relay out of its socket, paying attention not to damage any connected wires or terminals. It might be helpful to take a photo beforehand to remember the orientation and connections.
Use a multimeter to test the resistance: Set your multimeter to measure resistance, usually indicated by the symbol Ω. Place the probes on the relay’s terminals as indicated in your AC’s manual. Hold them steady for a consistent reading. The multimeter will display a numerical resistance value. If you’re unfamiliar with using a multimeter, reading its user manual might be helpful.
This AstroAI Multimeter Tester on Amazon is quite easy to use and understand.
Check the readings against the relay’s specifications: Compare the resistance value you measured with the specific value indicated in your AC’s manual or printed on the relay. If the reading is significantly higher or lower, this may signify that the relay is faulty. If the specifications are not available, consider seeking professional assistance to confirm the readings.
Check out these other related articles…
AC Compressor Pulley Noise: 4 Proven Solutions
5 AC Compressor Pulley Symptoms: Easy Guide
Bad Car AC Compressor: Easy Solution Guide
5 Signs of a Bad Car AC Compressor: A Comprehensive Guide
How to Tell if Car AC Compressor is Leaking: Your Easy Guide
Why Does My AC Compressor Stop After A Few Minutes? Answered
Replacing the Relay
If the relay is indeed faulty, replacing it is the next step. Here’s how to replace the relay:
Purchase a new relay that matches the specifications: Make sure to buy a relay that matches the model and specifications of the faulty one.
Disconnect the faulty relay and install the new one: Carefully remove the old relay and replace it with the new one. Ensure all connections are secure.
Reconnect the power and test the system: Restore power and turn on the AC system. Listen for the compressor to engage and check if the air conditioning is working as expected.