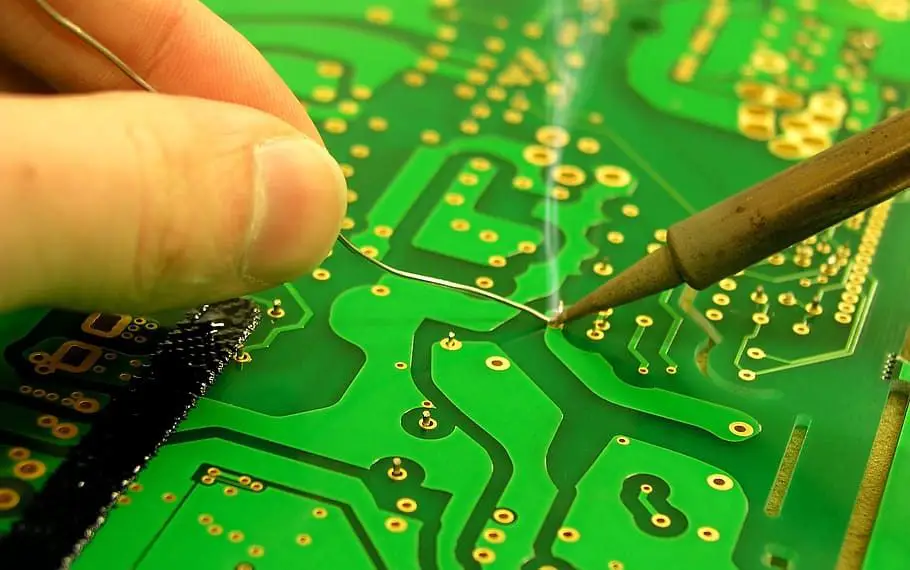
PCB in inverter AC – ever wondered what this fancy term is all about? It’s the heart and soul of cutting-edge technology that makes your air conditioning super efficient! Let’s find out more, shall we?

Table of Contents
Basics of PCB in Inverter AC
Let’s talk about the star of the show – the PCB. A PCB, or Printed Circuit Board, is the brain behind the inverter AC’s smooth operation. It houses all the electronic components and connects them in the right order to make your air conditioner function like a well-oiled machine. Without a PCB, you’d be left with a bunch of disconnected parts that don’t know what to do! So, you can see how important PCBs are for the efficient functioning of your inverter AC.
Components of PCB in Inverter AC
Ever wondered what makes up a PCB in an inverter AC? Let’s break down the key components and learn how they work together to make your air conditioner a lean, mean, cooling machine.
Microcontroller
At the heart of every PCB lies the microcontroller, a tiny but powerful computer that orchestrates the entire system. It’s responsible for everything from regulating temperature to managing energy efficiency. There are various types of microcontrollers used in inverter AC systems, but they all have one thing in common – they’re indispensable for smooth operation.
Power Components
Power components are the brawny side of the PCB, responsible for managing the electrical energy that flows through your inverter AC. Examples include Insulated Gate Bipolar Transistors (IGBTs), diodes, capacitors, and resistors. These unsung heroes play a crucial role in the performance of your inverter AC, ensuring it runs like a champ.
Communication Components
Communication components are the glue that holds the PCB together, enabling different parts of the system to “talk” to each other. Examples include the UART (Universal Asynchronous Receiver-Transmitter), I2C (Inter-Integrated Circuit), and SPI (Serial Peripheral Interface). Without these vital components, your inverter AC would be a cacophony of confused signals, rendering it pretty much useless!
Check out these other related articles…
4-Star Inverter AC: The Ultimate Guide for Homeowners
Should I Leave My Inverter AC on All the Time? [Answered]
Portable AC Inverter Technology: A Comprehensive Guide
Inverter AC Indoor PCB: The Unsung Hero of Your AC System
Inverter AC Specification: Choosing the Perfect AC
PCB Design and Manufacturing for Inverter AC
Designing and manufacturing a PCB for an inverter AC is no easy task. It requires a delicate balance of form and function to ensure top-notch performance. Let’s explore the ins and outs of this complex process.
Design Considerations
Designing a PCB is like solving a complex puzzle – every piece must fit perfectly! Key factors to consider during PCB design include component layout and placement, thermal management, electromagnetic interference (EMI) considerations, and trace width and spacing. Get the design right, and your inverter AC will thank you with years of trouble-free operation.
PCB Manufacturing Process
Transforming a PCB design into a tangible product is an intricate dance of precision and quality control. Key stages in PCB manufacturing include design file preparation, material selection, etching and drilling, component placement and soldering, and, finally, testing and quality control. It’s a labor of love that ensures your inverter AC performs at its peak.
Troubleshooting and Maintenance of PCB in Inverter AC
Like any piece of technology, PCB in inverter ACs can experience issues. Fear not, though! With a little know-how and some TLC, you can keep your PCB in tip-top shape.
Common Issues and Solutions
Some common PCB issues include power supply problems, overheating components, loose connections or damaged traces, and component failure. By diagnosing and addressing these issues, you can keep your inverter AC running smoothly and efficiently.
Maintenance Tips for PCB in Inverter AC
Regular maintenance is key to prolonging the life of your PCB. Some tips for maintaining and extending PCB life include cleaning the PCB, inspecting for signs of wear or damage, ensuring proper airflow and cooling, and periodic testing and calibration. Treat your PCB well, and it’ll return the favor with years of reliable service.