If you’re keen on ohming out a compressor, you’ve come to the right place. This guide will take you through every step of the process to ensure you can do it safely and efficiently.
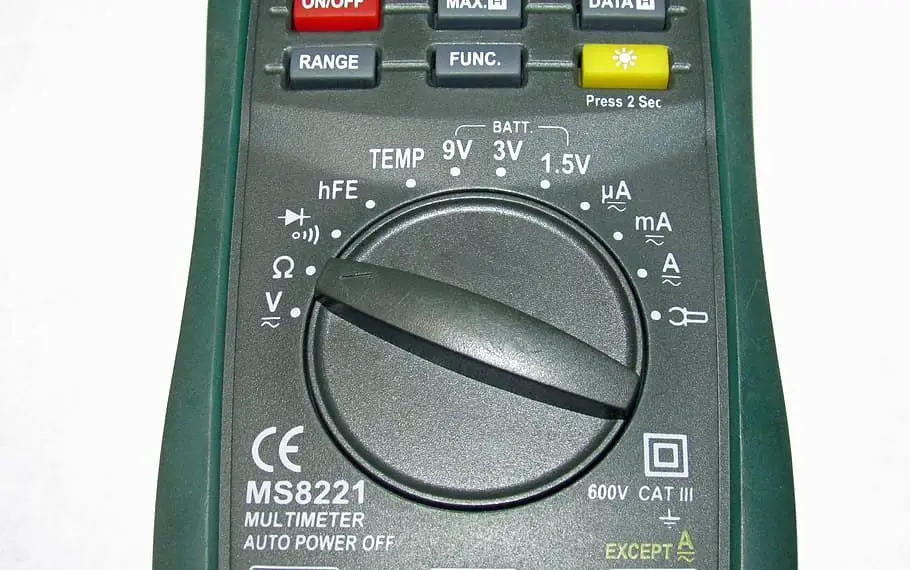
Table of Contents
Required Tools
Preparation is half the battle won. Before diving in, make sure to have the following tools and equipment ready:
Multimeter: A device used to measure electrical properties like resistance, voltage, and current.
You can get this KAIWEETS Digital Multimeter from Amazon if you don’t already own a multimeter.
Safety gloves: Protective gear to shield your hands from potential electric shocks and other hazards.
Safety glasses: To protect your eyes from any flying debris or electrical sparks.
Safety Precautions
Your safety is paramount. Adhere to these safety guidelines rigorously:
Disconnect power: Always ensure the unit is unplugged from the power source to avoid electric shocks.
Use protective gear: Don safety gloves and glasses to shield yourself from potential hazards.
Work in a well-ventilated space: This ensures that you are not exposed to harmful gases that some appliances may emit.
Step-by-Step Guide to Ohming Out a Compressor
In this critical section, we’ll guide you through the process of ohming out a compressor accurately. It is essential to proceed with caution and follow each instruction meticulously. Let us dive deeper into each stage to ensure a comprehensive understanding:
Ensure the compressor is unplugged and the capacitor is discharged
The first and foremost step is to disconnect the compressor from any power source to prevent electrical shocks. This is also the time to discharge the capacitor, which stores electrical energy, to avoid any hazard.
To do this, use a resistor or a screwdriver with an insulated handle to bridge the terminals of the capacitor.
Locate and access the compressor terminals
The compressor terminals are generally situated at the compressor motor.
You will find three terminals labeled as “C” (Common), “R” (Run), and “S” (Start). The common terminal is the part where the electrical route completes its circuit, the run terminal is connected to the active or ‘hot’ line, and the start terminal initiates the compressor motor.
Gaining access to these terminals might involve removing a protective cover or housing, which can be done using a screwdriver.
Set your multimeter to the lowest ohms scale
Now, grab your multimeter and set it to the lowest ohms scale to get the most accurate resistance readings.
If you are unfamiliar with using a multimeter, it usually involves turning a dial to the appropriate setting. This setting allows you to measure resistance in ohms, helping you determine the health of the compressor’s motor windings.
Measure and note down the resistance between the terminals
At this stage, use the multimeter probes to measure the resistance between the different pairs of terminals – C-R, C-S, and S-R. Touch the probes to the respective terminals and note down the readings.
Ensure you have a steady hand to get accurate readings, and it might be beneficial to take a couple of readings for each pair to confirm the values.
Calculate the total resistance
With the readings noted, it’s time to calculate the total resistance. This is a vital step in diagnosing the condition of the compressor. Ideally, the sum of the resistance measured between C-R and C-S should equal the resistance between S-R.
If this equation holds, it indicates the compressor is in good condition. If not, there might be an issue with the motor windings, signaling that further inspection or potential repairs are needed.
Check out these other related articles…
AC Compressor Engages But No Pressure Change: Easy Fix
AC Compressor Works but No Cold Air: Fixed in 5 Easy Steps
AC Compressor Grounded: Easy Guide to Identify & Fix
Causes of Compressor Short to Ground: Easy 411 Guide
Grounded Compressor Symptoms: How to Spot & Solve Them
Troubleshooting Common Issues
If you face issues during the process, consider the following tips to troubleshoot:
Functional multimeter: Ensure that your multimeter is functioning correctly to get accurate readings.
Visual inspection: Before starting, inspect the compressor for visible signs of damage such as burnt areas or frayed wires.
Seek professional assistance: If you find yourself in over your head, do not hesitate to consult with a professional technician.